Tuesday, December 31, 2019

Fireplace Remodel Day Four

Day #4 was rest day....more or less. So far the project has generated a huge pile of blocks which we plan on using in the yard somewhere...


And a ton of rubble. We have bins and buckets full of broken bricks and chunks of concrete in the garage...


...and in the driveway...


We couldn't just rest all day, so in the afternoon we installed some new, grounded outlets at both sides of the fireplace and ran the 12-2 cable up to the attic.


Monday, December 30, 2019

Fireplace Remodel Day Three

Morning of day #3, and the mortar we installed last night has set hard but hasn't cured completely.


Time to start rebuilding the floor. The void was framed out with 2" x 10" timber in order to provide a strong base - we will be tiling over most of this area so it has to be rock solid.


It's not obvious, but the area below the remaining concrete was also boxed in.


The concrete pad was repaired, and more concrete was also added at the supporting area below the firebox.


We moved on to installing the furring strips at the brickwork on the dining room side where the drywall will be attached. The strips were installed with masonry anchors into the mortar lines and shimmed as necessary. This was tedious work, and we were flagging after going at it for three (3) days straight, so we didn't get quite as far as we'd hoped.


To be continued.....

Sunday, December 29, 2019

Fireplace Remodel Day Two

Back to it!  We needed to lower then level of the concrete pad below the hearth by about one inch, since it was proud of the subfloor. The jackhammer made this task a lot easier, but it was still hard, noisy work.


It went pretty well, except that we discovered the concrete was very thin at the outside edge....when I punched through it!


The slab removal was temporarily abandoned at this stage so that we could stand on it while we were removing the excess mortar and the few protruding sections of brick around the firebox.


It doesn't look all that different with the excess removed, but this was a lot more noisy, dusty work which was carried out with the diamond-encrusted screaming wheel of death.


Back to the jackhammer: the front half of the concrete slab was busted out. Fortunately the slab has a wedge shaped cross section; we only had to break out the thin end since the thicker portion is well supported.


Finally time to stop destroying and start rebuilding. The first thing to do was fill the voids at the sides of the fireplace with a mixture of mortar and small pieces of brick. These spaces were too large to fill with thin set or plaster.


The base of the firebox was also shored up in the same way, although it will definitely take two applications.


While this was going on, my able assistant ground out the excess concrete and mortar below the hearth at the dining room side. We only needed to reduce the level here by about half (1/2) of one inch, so this work was also done with the diamond-encrusted cut-off wheel. We didn't want to bring in the jackhammer and risk destroying this slab as well. Here's the "before" look:


And "after" much grinding and dust production:


To be continued....!

Saturday, December 28, 2019

Fireplace Remodel Day One

This how our fireplace looked on its last night of "action." As previously noted, it probably looked rad back in the day, but we just aint bin diggin' it.


If you've forgotten, and who could blame you if so, we had the dining room side of the double fireplace filled in a couple of years ago. Since then it's been covered up with a bookcase.


Preparation is everything, innit. We put brown paper down on the floors to protect the hardwood. Then I installed several 2" x 4" studs between the dining area and the living room, which I wedged with cardboard to protect the ceiling. I didn't worry about getting them all neatly lined up.


Plastic sheeting was stapled onto the studs and taped to the ceiling and floor - the idea is to keep all the dust inside the living room.


More plastic sheeting was installed between the living area and the entrance hallway and we put in a zip, in case we need to get in and out of the living room, lol.


Removed the glass doors from the front of the fireplace and it was all systems go!


Now we're getting somewhere: we crow-bared off the mantle, ripped out 'alf the 'arth and started on the facing - time fo't cuppa tea. This was made a lot easier with the Xtreme Power jackhammer I picked up the week before crimbo. The demolition I mean. All I need to make tea is tut caddy an' tut t'ettle. An' tut sithers.


End of day #1....all the facing brick and the hearth has been removed. Obviously we have some cleanup work to do with the remaining brickwork and it looks like the firebox sits on a gravel pad....stay tuned!

Wednesday, December 18, 2019

Countdown to Extinction

It all has to go, and the countdown is underway:


Tuesday, December 17, 2019

Gutted about the Gutters

I was planning a few weekends off from working on the house after the skylight project. What was that, time off? Well yeah, dream on, because one morning last week I came outside to find that part of the front gutter had decided it was done with being attached to the house.


The gutter had been attached to the rafter tails and to the trim at the eaves with a number of screws.....we're speaking in the past tense because the timber had rotted out at several of the attachment points. Usually the remedy is to cut out the damaged wood and fill the void with automotive bondo...and then relocate the screw a few inches either side.


But....some of the damaged areas were bigger than others. Getting rid of the damage entailed cutting a large chunk off the end of the damaged board...and then doing that again (and again...) until an undamaged end-grain was exposed.


As you can see from the sky in these photos, it was blinkin' freezin' at the time and not at all what I wanted to be doing on the Saturday before Christmas. But the gutter wasn't going to rehang itself, so I fashioned several replacement pieces out-tut some scrap 2" x 6" lumber that was kickin' about int 'shop, and popped 'em in wit do-ins. I would have used the sithers, but I they wouldn't have been much help with this.
.

Finally got the gutter attached to solid material. Great. Then it was back indoors to put t'ettle on.

Monday, December 2, 2019

Thanksgiving Skylight

Thanksgiving: A time for family, relaxation, good food, sport on TV.....or in our case, time to install a skylight in the entrance hallway. The hallway was always dark, and even though we improved it a lot by getting rid of the black floor tile, it was still markedly dim.

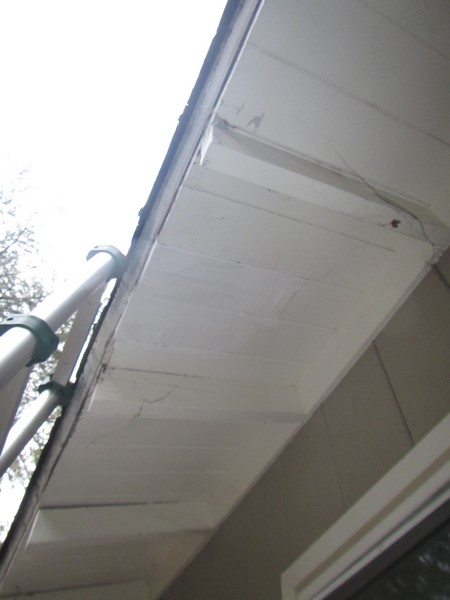
This project started with lifting some of the sheeting we installed in the attic, peeling back the insulation and disconnecting the hallway lighting fixture.


A blank canvas:


I cut out an opening in the ceiling with the oscillating tool and then installed 2"x 6" bracing before the joists were cut out with a combination of my brand new cordless circular saw and the OT.


Framed around the opening with more 2" x 6" lumber which was installed with the trusty nail gun.


Blocking was installed at the attic side to make sure the framing was absolutely solid.


Time to cut a hole in the roof - I cut this from the outside with the new circular saw, which meant no screwing around with extension cords on the roof. It's not obvious in this photo, but we did support the rafter at both ends before it was cut out.


Installed 2" x 6" framing around the opening and the rough edge was trimmed with the oscillating tool.


Went back up on the roof to tear off the shingles around the opening. The weather took a turn for the worse during this operation....


It was a very odd feeling looking through the roof, through the floor, through the open front door and back outside.


The skylight was very carefully aligned over tut 'ole, and we installed the flashing kit which is best explained here.


Patched the roof around the skylight with a variety of shingles...


Ten minutes later it was pouring with rain!


Framed out the lightwell.


Installed the drywall at the lightwell.


All exposed joints were taped at the attic side...


Wrapped the attic side of the lightwell with R30 fiberglass.


Came out nice !!!


*Yeah....we'll plaster it at some point I guess...