Before I can get going with my soon-to-be-ordered cabinet saw, I need to paint the concrete floor and walls, and install an appropriate 220 Volt outlet. I need lights in this area too, and since the epoxy floor paint has been delayed in transit, I decided to get cracking with the electrical.
I'm installing four (4) LED strip lights which are very similar to those I installed in the workshop a few years ago, and the first step was to hang all four lights at the unfinished ceiling:
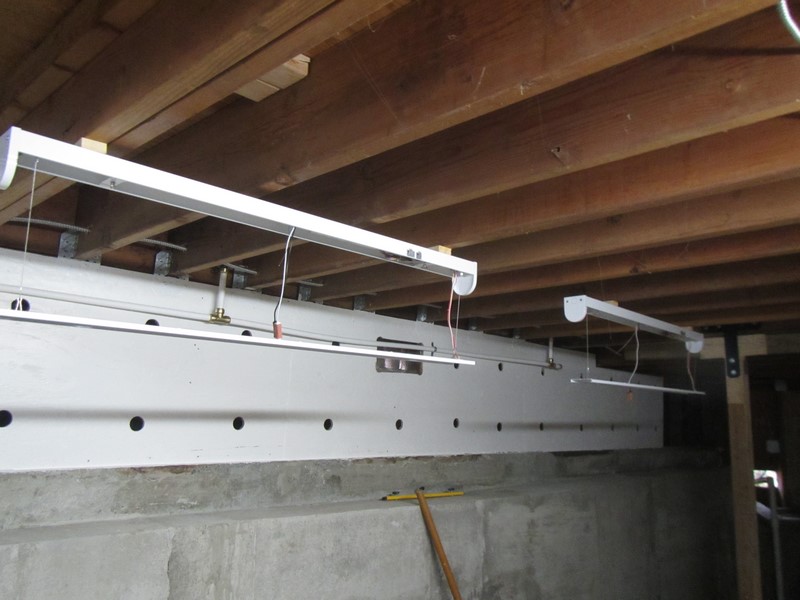
This is a considerable time later after the wiring has been completed. Two (2) of the lights you can see in the photo below were already present and are on a different circuit. The plan is that the original two lights are good enough for general use, and the additional four will only be needed when I'm running the cabinet saw or working in this area.

Moved on to installing the outlets - I'm putting regular 110 Volt outlets at five-foot intervals along the exterior wall. It was going to be at six-foot intervals, but the conduit comes in ten-foot lengths, so I just bought two and cut them in half.
I started off by attaching the outlet back boxes to the plywood paneling and running conduit-enclosed 12/2 cable between the boxes. I'm also adding an outlet at the exterior of the building and re-connecting the cable for the outside street lamp that I had to remove when I re-plumbed the hose bibs.

This is later after the wiring has mostly been completed and the outlets installed. I was short of cable by about fifteen feet, so I couldn't bring power to the outlets, but they are otherwise complete at this point.

The empty box at the center of the photo above is reserved for the 220 Volt outlet that will power the cabinet saw. I will be tapping into the circuit which already passes through this area to service the vehicle charger for Amy Sheep's daily driver.
The cable I'm using for the 220 V outlet is either 10/3 or 8/3 which was left over from when I installed the EV charger; it's hard to bend this cable without pliers. Somehow installing a 220 V outlet seems like a big deal, even though I used to mess about with wiring all the time in the UK, and everything there is 220.

This is later after I ran the monster thick cable from the new box and cut into the existing cable. I had to put a 90 degree bend in the conduit so I could work around the plumbing lines we installed a few weeks ago.

I'm also installing a 220 V outlet in the garage, another example of Project Creep. I don't have a need for 220 V in the garage until I get a proper welder or a big compressor, and neither of those are on the horizon. But, since I have all the electrical kit on hand including plenty of cable, I decided to do it now anyway. The hardest part was figuring out where to drill the hole through the wall.


I covered both 220 boxes with tape for the time being because the outlets are on backorder.

This is a bit later after I cleared up all wiring detritus and put away the electrical tools and related paraphernalia. I quite enjoy electrical work because it's not too tiring and I have to keep thinking about what I am doing.

A few days later I swung by my local home improvement center (you know the one) after work and picked up some more 12/2 cable for the outlets. It didn't take long to hook the outlets into the circuit breaker panel, so I spent the rest of the time before dinner cutting out a two-piece cover for the sump pit from some scrap plywood and giving it a quick coat of primer. The photo below was taken a few days later after the cover was painted with white semi-gloss.

This is how it looks installed:

Thanks to the new wiring project, the sump pump now has its own outlet. This means no more extension cords trailing across the basement floor!

Coming soon: paining the concrete floor in the basement and installing the cabinet saw and dust extraction system - stay tooned!


No comments:
Post a Comment