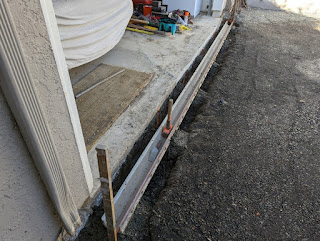
As mentioned in Part 2, the driveway remodel has had some issues with the weather. However, this was the sky the night before the plastic sheeting was removed from the wall. I'm writing almost two weeks hence, and it has not rained since.
This is how the wall looks about a week after it was poured:
By this time the blocking and the forms have been removed from the rear side of the wall and it is time to backfill.
The landscape fabric goes in first...
This is the last photo of the original driveway, taken right before I left for work:
By the time I got back, the concrete was gone, the juniper had been ripped out and the first load of road base had been spread:
This is later after most of the road base has been spread out.
The road base is then heavily watered and partially compacted with the Bobcat.
Its difficult to see in the next photo, but string lines have been set left-to-right across the driveway. This helps to identify low or high points in the road base. Any such areas are marked with spray paint and modified accordingly.
The final step is running a compactor over the entire area which provides a very solid base for the concrete:
The next step is to install the drainage system in front of the garage. The old drain was just a channel in the concrete that never worked property; the front of the garage would flood under the slightest provocation.
The new drain consists of one (1) meter long precast sections which are designed to lock together and provide a consistent 2% slope towards the preexisting subsurface drain. The sections are set on concrete piles. Doing this ahead of the main pour ensures a precise position. Cast iron grilles will be installed later.
A few days later and the rebar has been installed at two foot centers; at this point the rebar is laid on top of the road base.
We ripped up the juniper but the trees next to the garage have been given a reprieve.
The new concrete will extend to the path at the front of the left side gate. The concrete path beyond the gate and the concrete patio in the backyard will be replaced later, with anything but concrete!
The final preparations before the pour include installing a foam strip at the junction between the wall and the driveway - this is just about visible as the black ribbon in the photo below:
The rebar is lifted onto two inch dobies (small concrete blocks) at the last minute - once lifted, the rebar presents a serious trip hazard.
To be continued...


No comments:
Post a Comment