We've had problems with drainage in front of and down the side of the garage in the past. The first step to solving this problem was the drainage channel we had installed as part of the new driveway. The channel is connected, below the concrete driveway, to the section of white PVC pipe which runs at the left side of the garage.
So far so good....the problem is that the older black pipe which runs beyond the new section is completely blocked with dirt. Obviously I didn't know exactly how much dirt or how far it extends into the system...but I needed to find out, and remove it. I started by digging out as much dirt from above and around the pipe as I could, and removing both the downspouts that feed into the pipe:

The openings in the pipe, where the downspouts were connected were completely filled with dirt:

As was the pipe:
Tree roots were growing through some sections:
It was pretty clear none of the old pipe would be going back, so I decided to remove all of it. The section which passes below the gate was very difficult to get out. I had to make a number of cuts and then hammer out the small bit that passes immediately under the gate. The gate post actually stands on the edge of the garage foundation so it didn't move fortunately.
.
There was another big root in the area below the pipe:
I got rid of all the old pipe up to where is disappears under the patio. One day we will replace the patio, but that is not part of the plan for right now, so this section of the drainage pipe will be staying. I cleaned the dirt out of the first six inches with a crowbar:
The next downspout along is located at the opposite side of the patio. I discovered that the pipe in this area is totally clear by stuffing my hand inside. The pipe is a lot deeper below the surface in this area too which makes sense.
I used a combination of the high pressure hose and my hands to clean out the section of pipe which passes between this downspout and the edge of the patio, and then I cut the pipe back and prepped it for connection to the replacement pipe.
Dug out all the excess dirt and tree roots from the channel between the house and the walkway:
Including below the gate...
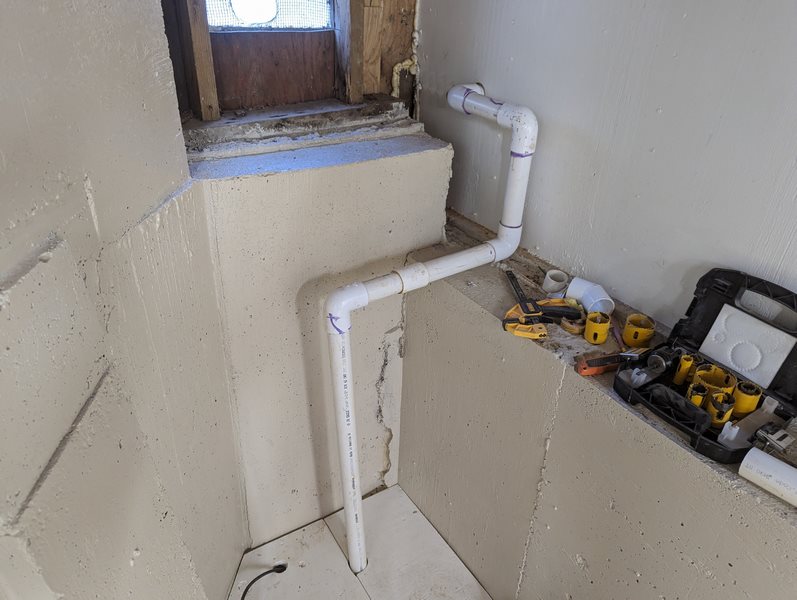
OK, time to move on to the next problem. The downspout at the left side of the garage used to plumb into the old drainage channel. It doesn't do that anymore because the new driveway is in the way (see below). There are a number of potential solutions to this issue, including adding an extension which directs water into the drainage channel. However, with a little bit of work, I think I can move the downspout around the corner and plumb it into the subsurface drain.
Started by cutting back the new pipe and preparing it for connection to a T-piece:
Connected a T-piece where I want the new downspout to plumb in, and added the first section of new pipe:
I'm installing a catch basin straight after the gate. I have to dig out a bit more dirt below the basin. I would have liked to put it right at the beginning of the line, but the gap between the foundation and the walkway is too narrow in that area.
I installed a second catch basin just before the patio. This is the second line of defense!
Re-installed and connected both of the existing downspouts:
The gutters at this part of the roof are the type which are rolled-on-site, which means they are all one piece, including the 90 degree corner. This makes modifications to the downspout locations more difficult than it would be with sectional gutters. My work around is to use a pre-made downspout connecter and a flat sheet of galvanized steel and adapt them. I already put a couple of folds in the steel sheet by putting it in the vice and applying a hammer before I took the photo below.
I removed the downspout and the adapter which leaves a two inch diameter hole in the gutter:
Test fitted my patch...
I installed the patch with a mixture of pop rivets and an excessive amount of silicon caulk:
I modified the downspout connecter and installed it in the same way as the patch after cutting a hole in the gutter in the place where I want the new downspout to be:
Installed the old downspout in the new location. I'll have to paint the replacement securing straps at some point, and the bit of the front-facing wall where the downspout was originally located.
Time to backfill around my new drainage pipe...
The next bit is finalizing the drainage channel in front of the garage. We bought some very smart cast iron grates, but I also wanted to install some fine wire mesh first since the grates will not keep out small leaves. The mesh comes on a roll and I cut it into strips with the metal shears:
The grates come in eighteen inch sections which I placed on top of the mesh:
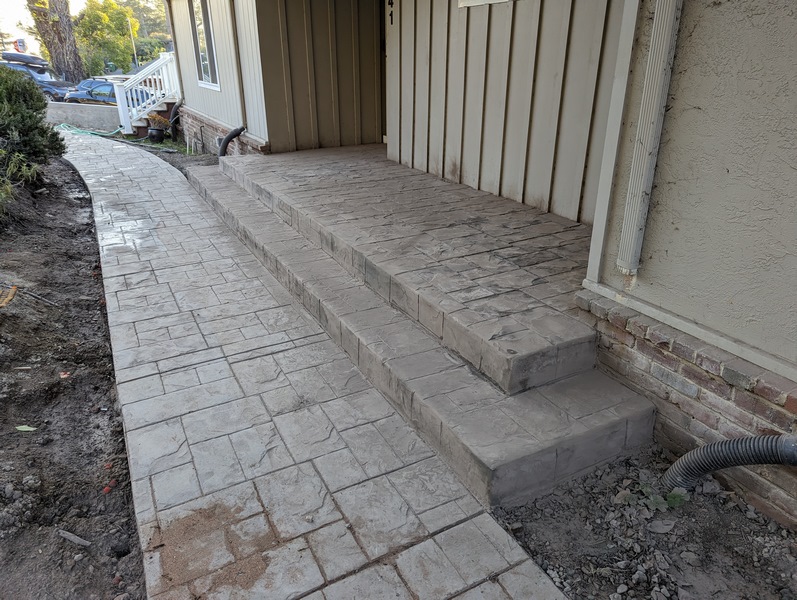
All done! Just need some rain now to test my work....