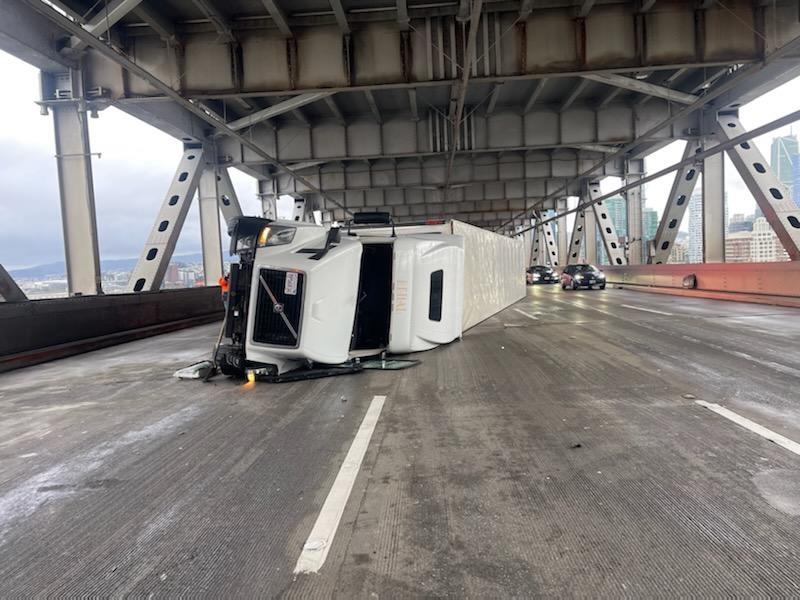
Even in the context of the wettest Winter we've had in fifteen years, the last week has been horrific. Last Wednesday we were lashed by one of those storms that's so big it got its own name. Trees were down all over the East Bay, and a big rig was blown over on the east bound Bay Bridge right at commute time*.

Nevertheless, by Thursday evening the storm was over, and at the time of writing we have enjoyed three full days of sunshine and roses. I had a few chores to do on Saturday morning, but once they were out of the way it was straight out to the yard to finish digging the hole for the mailbox post. The hole finished up being 29 inches below grade - a little bit deeper than I planned, but whatever. The post to which the mailbox will eventually be attached needs to be 31 inches above grade according to USPS specifications....so I need a post 60 inches long. I made one of those from a pressure treated 4" x 4", and I added wood preserver to the cut end. (Note the wheelbarrow cutting table!)

There is steel sleeve which slides over the post. The sleeve is about 44" inches long, so it will also be partially buried.

I made a collar out of scrap lumber - this will be useful when I need to brace the post in position.
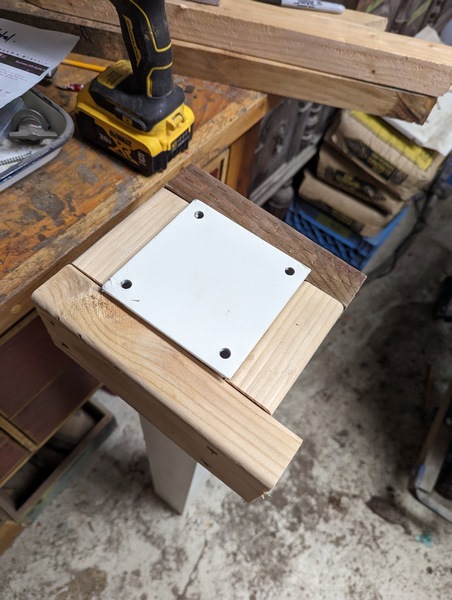
The sleeve fit was quite loose so I used to shims to center the sleeve on the timber post....still working on top of my wheelbarrow!

I connected the sleeve to the post with some galvanized steel lag screws I happened to have in the shop.

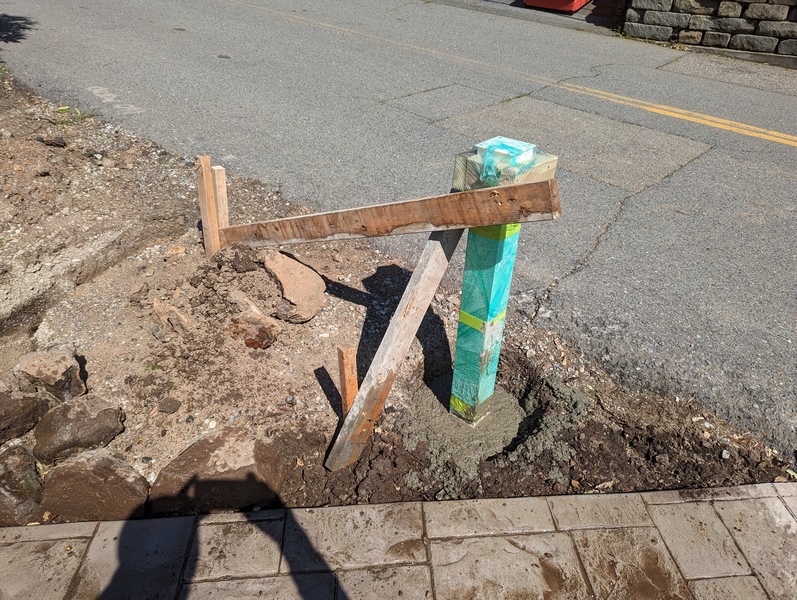
As I mentioned earlier, it was a beautiful day, so I headed outside to install the post. I wrapped the upper section of the post in clingfilm, so I won't have to worry about wiping off any stray concrete. The post was secured with a couple of 2" x 4" braces which are connected to stakes which I sunk a couple of feet into the dirt. Getting the post plumb took a bit of back and forth because I was working on my own.

This is later...the post hole took three and a half bags of concrete which I mixed by hand in the wheelbarrow; it didn't seem worth getting the ent mix out for such a small amount.
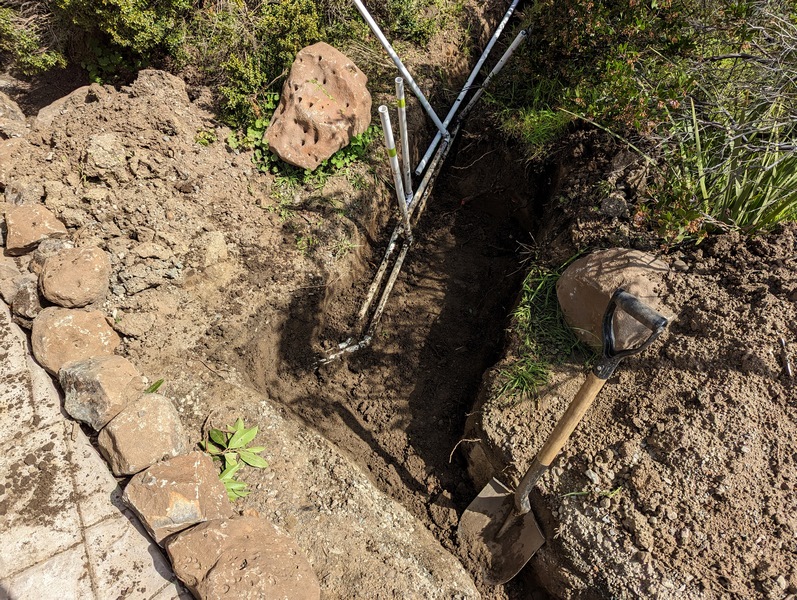
With that done, it was time fort cuppa tea and un ox-tongue sarnie in front ot fire. Or something like that. After a suitable interlude I headed back outside and set to work on the irrigation system. With the trenches pretty much completed last weekend, it was time to start laying some pipe and making connections. I started by digging out a couple of barras worth of dirt from around the main supply line.
\
This is after the main line has been connected to the pipe which passes below the walkaway - I used a threaded coupler in case I ever need to disconnect this line or drain it, if it ever gets that cold...


So far I have been installing pipe on the house side of the walkway and connecting it to the sections which pass below the concrete. However, to make the system work, I need to install valves between the incoming line and each station. The valve manifold will be going in the spot Delilah is inspecting below, which is where the pipes emerge from below the walkway.


(*first two photos from CHiPs SF twitter).


No comments:
Post a Comment