Tuesday, September 13, 2022

Getting Serious in the Workshop

I've wanted a really nice table saw - well, a cabinet saw actually - for a long time.  Finally I have the space, the 220 V outlet and the green backs. Or I did have, before I exchanged the latter for the SawStop™ ten (10) inch 3.0 HP Professional Model with the 36 inch fence. (See the full spec here). This is what (most of) the saw looks like when packed and palletized. 


After unpacking, adding the cast iron wings and mounting the control box and motor cover the saw looks like this:


So far so good, but this is when I discovered I was missing the 36 inch rails. Not the easiest thing to mislay, as you can see from the photo below. The main reason I use the online retailer in the link above is because of their post-order service, so I was only without the rails for a few days.


This is later after I have added the rails, the extension table, and cut my first timber. I love my new cabinet saw!


This photo is from further away; you can see the dust extractor in the background.


There was a very satisfying quantity of dust in the extractor bag after the first few cuts:


We actually acquired the dust extractor a few months ago. We bought it as part of job lot that also included a band saw, a bench-top planer and a jointer. Basically we ran across a deal that we could not refuse. I've been waiting until the cabinet saw was up and running before getting the rest of this kit organized. The band saw is going to live in the basement next to the steps/storage platform. In this location it can be connected to the dust extractor and the 220 V circuit. The band saw is on wheels, so it can be moved away from the walls if we need to cut large workpieces.


The jointer is also on wheels. We don't anticipate using this tool very much to start with. I will have to extend the dust extraction system into the other half of the workshop before we can get it up and running.


Stay tuned to see what we can build from our first few sheets of plywood now that we have all the big boys kit!

Saturday, September 10, 2022

Mustang Running Again

Installing the replacement transmission was a fight, but it was definitely one that was worth winning. Just getting the tranny into roughly the right place under the car was hard enough. I ended up tying it to a scrap piece of 2" x 8" lumber so I had something flat to lift with the floor jack. 


After much wiggling and wrangling, I was able get the transmission to within a quarter of an inch from where it was supposed to be - I just could not get it to slide all the way in (!) close the gap to the bell housing:


Eventually, after much pushing, pulling, swearing and banging my head on various bits of the car, I broke the golden rule and used the bolts to bring the transmission into it's final position. I was careful to tighten the bolts gradually, and keep rotating from one to the next. This process was very successful - there was basically no resistance to installing the bolts. But, all in all, it took most of a day to accomplish this operation.

The next weekend I re-installed the driveshaft and the park brake cables and adjusted the clutch. After that I put the car back on the floor and, with the transmission level, filled it up with ATF. Hopefully this will prevent future seizures. With that done, I test drove the car 10 feet out onto the driveway. Even after sitting for the best part of a year the engine started up right away! 

I flushed the radiator/cooling system while I had the car outside, and then I tested reverse gear by returning it to the garage. I am planning to take the 68 to a show at Hayward Airport next weekend. Before that, I have some very serious cleaning to do.

Monday, August 22, 2022

More on the Mustang

Time for the re-build...well, not so fast! As I mentioned in my previous post, there was nothing obvious wrong with the clutch. But there was something obvious wrong with the transmission: it was totally seized, which makes sense, given the symptoms of the breakdown. I also discovered that an oil leak at the rear main seal is/was responsible for the huge stain on the garage floor.

Still, neither of these discoveries was going to stop me and one of my BAMA friends from installing my sparkly new MDL clutch and remounting the bell housing:


The following weekend...or more specifically the day before yesterday, at the time of writing, I expended much effort to put the Mustang back on the ground and push it out of the garage. Well, as far out of the garage as I could manage on my own given the driveway slopes upwards. I only got it this far by bending down and physically turning the front wheel a few inches at a time while nudging the wheel chock forward with my knee. If this operation sounds incredibly dangerous, then I have described it accurately. 


Next job: power wash the garage floor. I was totally fed up with rolling around in oil-impregnated concrete dust...


Much better:


Installed my new rug which came from the living room - the light patch in the middle used to be under the coffee table. Give me six months, and there won't be any light patches!


I couldn't run the engine because I haven't put the starter back in yet, and I've heard it's not the smartest thing to do inside a garage anyway. So I pulled the drain plug, and left the car overnight.


The next morning (or yesterday), I pulled the crossmember and most of the steering so I could get to the oil pan. The very first thing I ever did on this car was change a leaking oil pan gasket, although that was back when the car had a six-cylinder engine. 

With the pan out of the way, I could remove the main bearing cap and change the seal - the seal comes in two (2) pieces, so it can be changed without taking out the crankshaft. The photo below shows the main cap with one half of the replacement seal installed. It is deliberately proud by about 3/16 on the right side so that the seal and the cap do not meet in exactly the same place.


All back together and topped up with fresh oil. After 24 hours, there is no evidence of oil leaking from the pan or anywhere else. If I can say the same after driving a few miles, I'll be quite happy, especially as I did this all on my own with having an accident or breaking anything. Or having to make a second/third trip to the auto parts store.


As I mentioned above, the cause of the original breakdown was a seized transmission. It takes a lot for this to happen under normal use, but apparently it is quite common when the transmission does not have any fluid inside it (!) I know this because I have a friend that is retired but still builds and rebuilds transmissions in his home shop. After he took my T5 apart he said the only reusable part was the case. I went by and picked up one of the destroyed parts so I could keep it in my garage. This is a reminder for anyone who is thinking of running their transmission without enough (or without any) fluid:


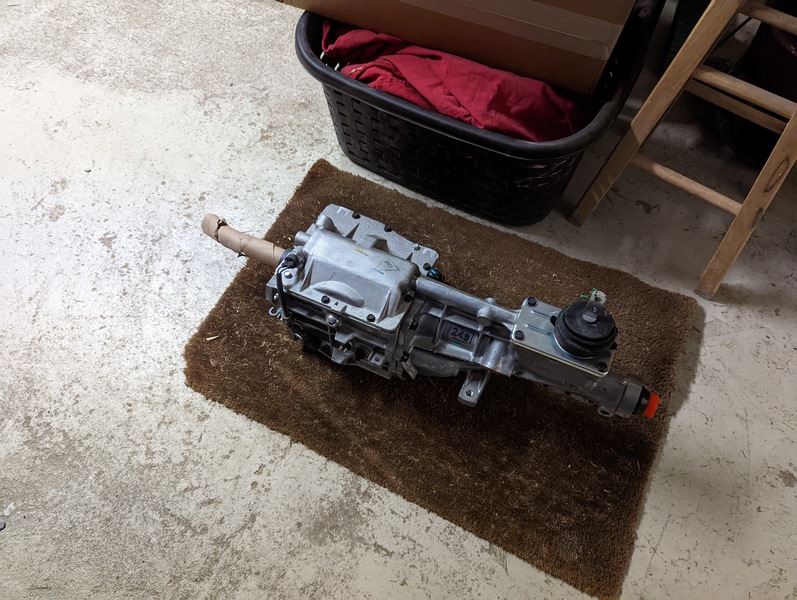
It turns out that the labor and parts cost to completely rebuild a transmission with new parts (minus the case) is not far away from the cost of a new one, even when you know someone "in the biz." So, the next time Sam and I can work on the car we will be installing the little monkey below. This time, we might even fill it up with transmission fluid. 


To be continued....

Sunday, August 14, 2022

Painting the Basement

After many moons, and twice as many suns, one bright evening I was distracted from my post-work cuppa and quick scan of the interwebs by a large box thudding onto the porch. The epoxy floor paint had finally been delivered! Cue more rejoicing than that time I won an Edward Jenner on the National Lottery.™ 

I am using the same beige concrete paint I laid down in the garage, only this time there is no oil to get off the floor first. It is debatable whether the concrete needs to be etched/cleaned with muriatic acid; I didn't bother since I know the concrete is brand new, and the surface is far from perfectly smooth. I did however do a very thorough vacuuming, a power wash and then another vacuuming. 


After all the prep, I was ready for a rest....so I roped in Sam to help with the painting. It took us the better part of two (2) hours to apply the base coat: 


We had to wait six (6) hours before we could apply the top coat, so we headed upstairs to have some scram and watch The Godfather. Then it was back to the painting:


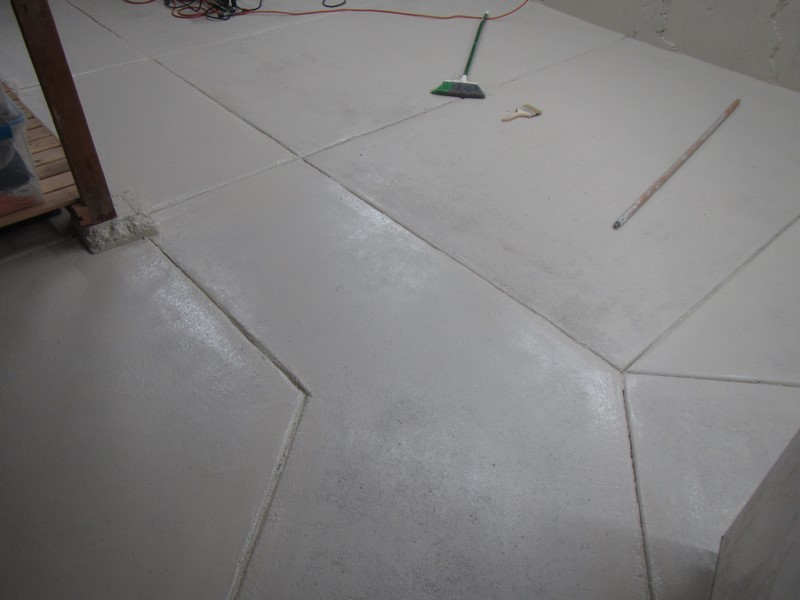
As you can see it came out very nice....


Until you step back a few feet and can see that we ran out of topcoat about halfway through:

There was nothing we could do at this point except clean tut' brushes and put the project on hiatus. Fortunately, the next batch of paint arrived in less than two (2) weeks, and we were able to get back to work:


I did consider hanging around in the basement for a bit longer, just so I could watch the paint dry....but then I had a better idea: time to order the cabinet saw I've been drooling over for months! No doubt it will feature in this blog soon enough ;)

Friday, August 12, 2022

Widening The Pathway part two

As documented here, after moving the water heater, the bottle neck in the workshop is the ridiculous gas line:

Safety first: after shutting the gas off at the meter, I lit one of the burners at kitchen stove and used up the residual gas in the pipes....and proved the supply was really off. Then I disconnected the flexible lines at the furnace and water heater; both the flexible lines are new and can be re-used. Building code in California requires at least eighteen (18) inches of flexible pipe adjacent to every appliance and there is a good reason for this.* 


I considered cutting out the old pipe with the screaming wheel of death, but it was safer just to unscrew it back to the T-piece. I actually started this project on a Friday morning before a weekend when Amy Sheep and the three little sheep were elsewhere - my thinking was that if I screwed up, I would have three days to get professional help!


Obviously I planned in advance which fittings to buy, but I was still a bit nervous about installing them correctly and getting the aligned where I wanted. 


I put a temporary strap on the horizontal section; the finished pipe will stand on the floor and make the strap redundant.


Like so, as they used to say on Blue Peter:


The pipe came out a quarter of an inch short, so I shimmed it with a a scrap of wood. I might make a more aesthetically pleasing spacer in the future.


This is later after I attached the two independent spurs which go to the appliances. This photo was taken before I was done pressure testing the system; once that was done, I reconnected the gas supply at the meter and reignited the pilot flame at the water heater. The furnace is electronic ignition, but we only need that a couple of months of the year at the most, so I typically leave it off. 


Much better! You could fit a double decker bus through there now:

*It's called earthquakes....

Sunday, August 7, 2022

Back to the '68

It's been a while since I worked on my Mustang - having a new house to play with has taken up the better part of four years and it isn't finished yet. Like the car, it probably never will be.

I've owned the my 68 coupe since September 2008, and I started tearing it apart properly in the Spring of 2010. I finally had it running, registered and insured, and filled up with premium gas, by the end of the Summer of 2021. It has been a long-running joke in my family that the car would be ready for the Olympics - we just weren't sure which one! I drove the car to the September BAMA meeting – this marked the 68’s first General Meeting appearance since Fall 2009. I was careful to get photographic proof:

The car was running ok on the trip down to Hayward apart from a strange clanking sound when in third gear. I tried to keep out of third as much as possible on the way back. This plan was worked well for a while, but untimely failed. I was doing about 65 on Highway 13, less than two miles from home, when the car emitted a very unpleasant clunking sound and ground to a halt. I’m not sure exactly what happened, but it was apparent that the car was stuck in gear, probably fifth, given that was where it crapped out. Somehow, I managed to start the engine and get the 68 rolling, but this only got me as far as the freeway off ramp where the car stalled out on the upward gradient. The remaining mile of the journey was completed on the back of a tow truck.

The following weekend we had another couple of pallets of concrete delivered, and while I was working through that it became apparent that all the dust and mess in the garage was not going to be helpful if I started tearing the Mustang’s drivetrain apart. Not to mention that working on the car was the last thing I felt like doing.

So, as documented elsewhere in this blog, I Carried On Concretinguntil we had worked through more than six hundred (600) eighty (80) pound bags and moved out thirty (30) cubic yards of dirt and rock. At the time of writing the basement construction has finally been completed bar painting the concrete floor.

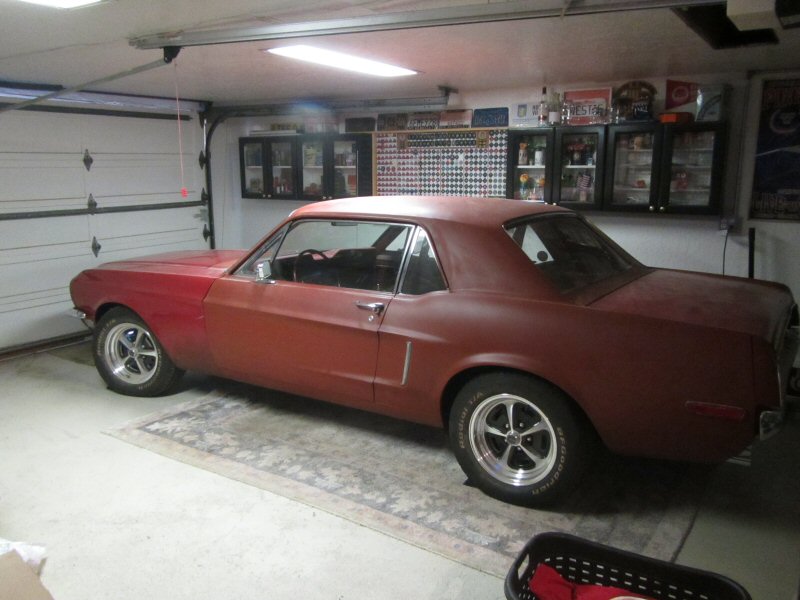
Or to put that another way, now is the perfect time to see if I can get the Mustang back on the road. This is how the 68 looked with the cover removed. This photo does not do justice to how dusty the car was. The car has not moved from this spot since it was winched off the back of the tow truck last year. And how could it when it is stuck in gear? 


At this point, I still didn't know precisely what was wrong with the car - given the symptoms, I was thinking the clutch or transmission - or both - would be a good place to start. It's worth noting that the clutch pedal still goes up and down and the shifter stick can find all the slots in the box. I used the equipment below to lift the car off the ground and began my inspection.


Discovery #1 - a small stain immediately below where the fuel line joins the filter - probably a gas leak. It's certainly something to fix, but unlikely to be the responsible for the drivetrain failure.


Discovery #2 - a much larger stain below the junction of the engine and the bell housing; now we're getting somewhere!


Next step: pull the driveshaft. This was a good opportunity to wipe off all the concrete dust.


Then, remove the shifter stick - it is much easier to do this without a carpet and a shifter boot in the way. I also disconnected the clutch cable, the backup lights and the speedometer cable. 

Time to pull the transmission - or what my grandfather would have called tut gear box. My Dad's old friend Billy Sultana once dropped an open automatic gear box on this left hand. When the injury finally healed up, he had some gruesome zig-zag scars on his fingers where they were sliced by the cogs. I didn't want that to happen to me, so I called in Samuel Sheep to help:


Getting the transmission mount and crossmember out wasn't very difficult - one of the crossmember fasteners was actually missing - oops - but the transmission bolts were tough to access. We had to get creative with a mixture of long socket extensions and a universal joint to get at all the bolts. After that there was a lot of pushing and pulling the transmission and wiggling of the floor jack before we could snap the picture below. I could not have done this without Sam's help.

Next, we had to pull the bell housing and the clutch. The bell housing bolts were very difficult to get at, and I had to use all my strength to get them undone. The clutch was a bit easier. The clutch was one of  very few components which was not either restored to original condition of replaced with a brand new part; one of my BAMA friends donated a slightly used one. There wasn't anything obviously wrong with the clutch, but I already have a much nicer replacement on hand. From what I can tell, the flywheel is still in decent shape. Hopefully the rebuild goes as smoothly as the tear down. Stay tuned to find out!