If you're expecting an update on the Driveway Remodel, then you're early! Besides, I'm not, personally, or individually, lifting a finger on that particular project. Instead I've been continuing the quest to rid the interior of the house of 1980's era chintz.
This never ending journey has most recently arrived at the principal suite where the bathroom lighting fixture has to go. Once more I do not have a proper before photo of the bathroom cabinets and the gaudy lighting fixture, but since we have the same setup in the hallway bathroom, I snapped a photo of that instead. About two-thirds of the bubs have been removed to reduce the brightness.

The cabinets are probably not what we would choose, but they do hold a lot of stuff, and they are in decent shape, so they're staying. The lighting fixtures on the other hand need to do one. This is back in the principal bathroom after the cabinet doors and the front panels at the lighting fixtures have been removed. The cabinet doors are mirrored on both sides, and the interior panels are also mirrored, so there was no avoiding looking at myself while doing this project.

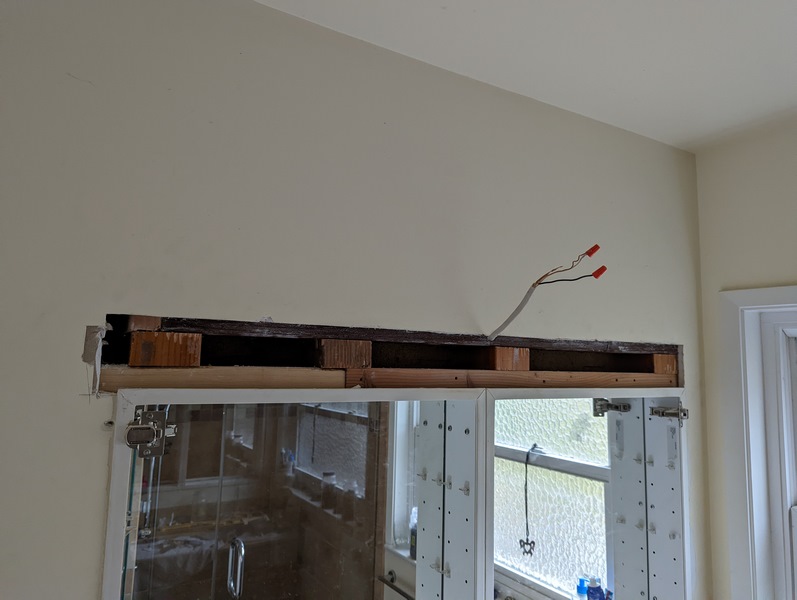
Somewhat unsurprisingly the whole thing is "one piece" so I had to pull the cabinets out of the wall in order to detach the lighting fixtures:

There was not a whole lot of insulation in the wall cavity (so just like the rest of the house...), and whoever installed the cabinets didn't leave any blocking at the sides of the opening.

This is how the cabinets will look when they go back

Appropriate blocking was installed to the sides of and above the cabinets and then I re-installed the cabinets a damn sight more securely than the last person did.
Patched the hole in the drywall...

Marked the location for the new lighting fixture:
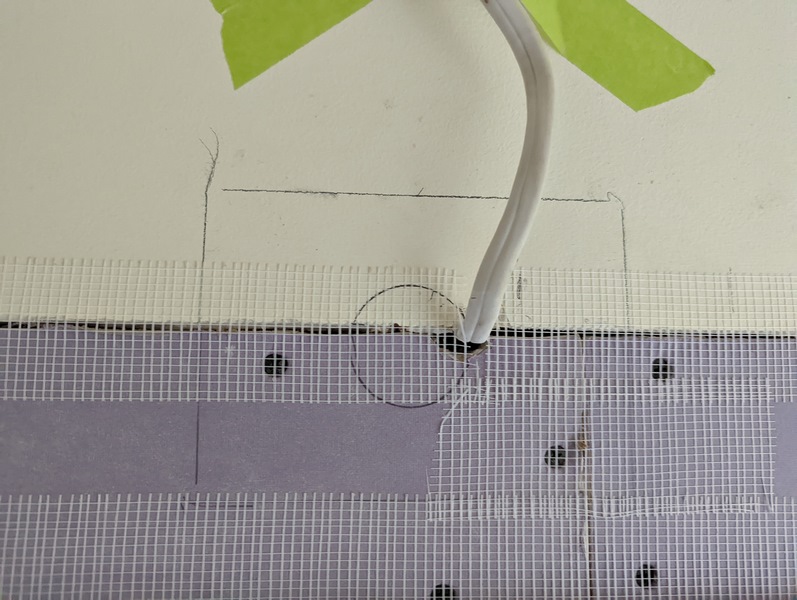


This is a bit later after I cut holes for new outlets and a channel to thread the new cable through. I cut back the existing cable so that it comes from the right side, rather than the center, of the wall.
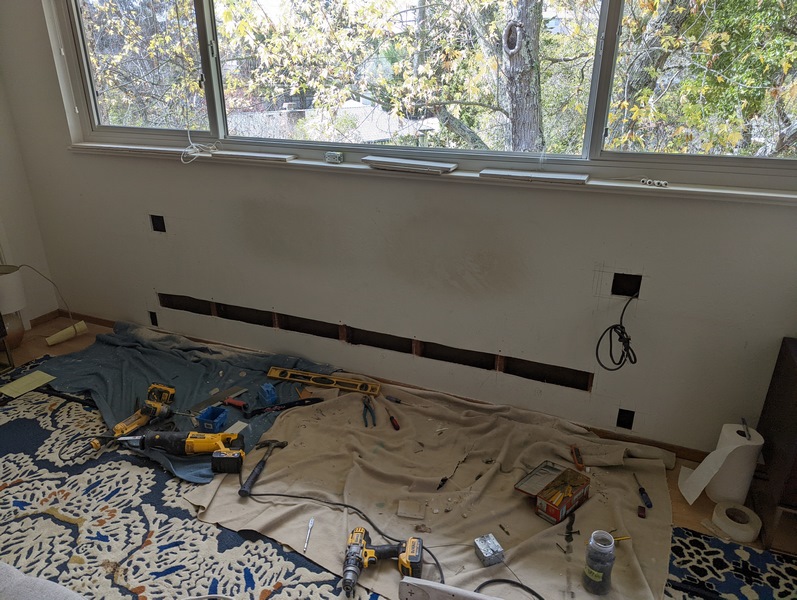
All buttoned up! I saved the pieces of drywall so that I could put them back where they came from; this saves a lot of time.

The upper outlet is easily accessible, and has the modern USB connections as well as the typical 110 V. The lower outlet is controlled by the switch adjacent to the upper outlet. This way a lamp can be plugged in to the lower outlet and controlled from the switch with minimal effort.

The big picture:

Re-plastering in progress...

To be continued....


No comments:
Post a Comment