Tuesday, January 11, 2022

Basement Expansion Part 17

It's thanksgiving and, like folks all over the good ol' US of A, we're roasting the turkey, preparing the stuffing and baking a massive apple pie. Actually, we're doing nothing of the sort. Thanksgiving in this  neck of the woods is an excuse for prolonged DIY activities. I mean, what else are we going to do with four days of vacation time? Over the years I've moved house on the fourth Thursday of November, I've built a retaining wall and I've installed skylight. Not at the same time mind you...

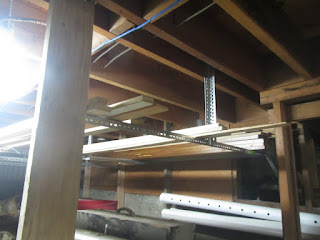
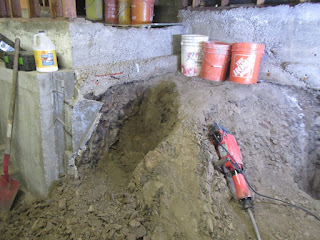
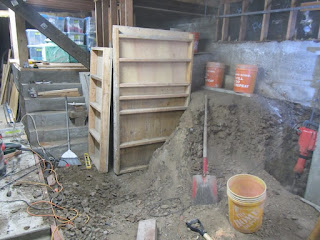
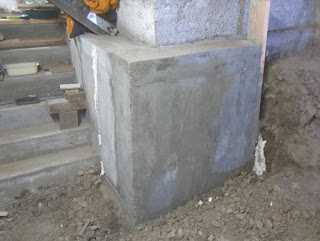
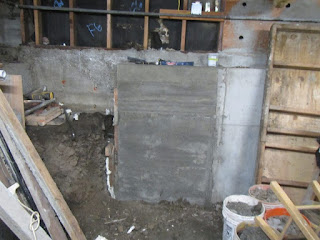
So, down to the basement, and this is the somewhat muddled scene looking towards the unfinished section of the perimeter, very early on the Thursday morning:


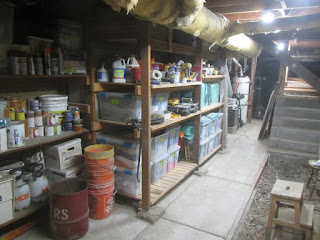
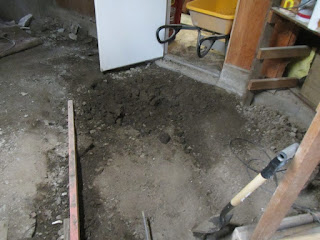
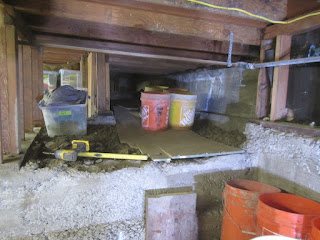
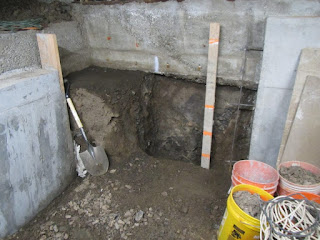
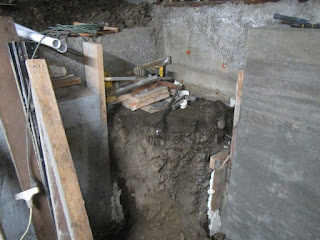
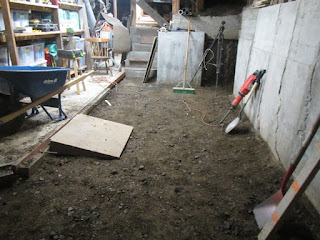
And this is the even more cluttered and dim view looking in the opposite direction. The level of the dirt in this area needs to be lowered by between six and twelve inches before we can install the concrete floor.
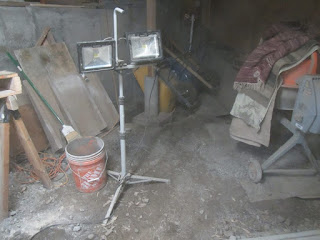

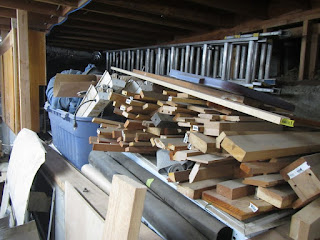
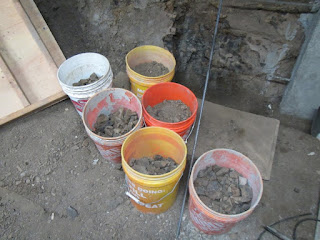
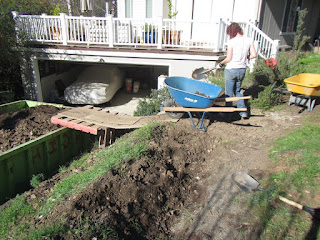
This is the much more orderly scene in the driveway at the same time:
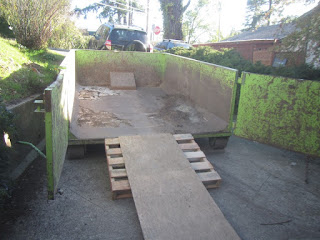

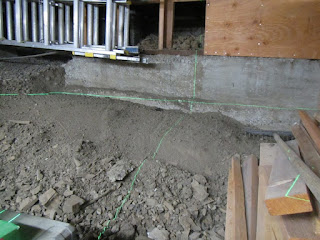
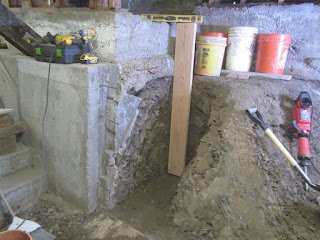
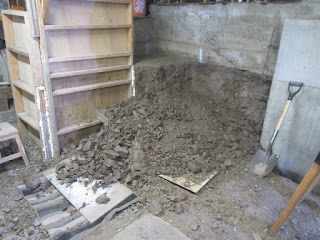
After clearing all the construction detritus out of the way, I got started in the far corner with a combination of the jackhammer and the shovel. Amy Sheep worked the wheelbarrow.


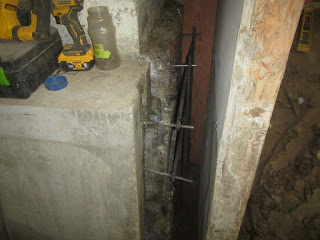
This is after a couple of hours of serious sweat-inducing effort. Then we moved on to the floor.
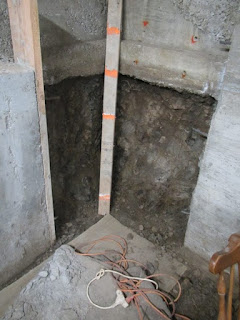

By the end of Thursday we had done a first pass over most of the floor - the island where we have been parking the wheelbarrows remained for another 24 hours.
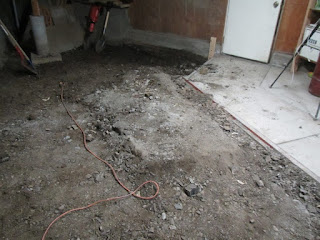

By the end of so-called Black Friday, we had completed the second and final pass across the floor and everything was leveled out and (almost) ready for concrete.
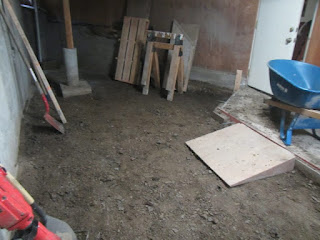

We still had a little bit of space left in the dumpster, so I modified the ramp and I had Amy Sheep spend her Saturday morning topping it off with dirt from the front yard.
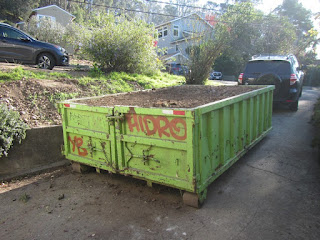
All filled-up and ready to go....

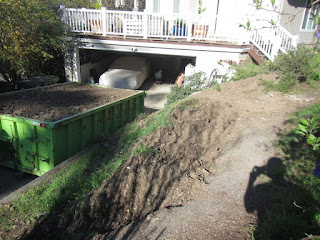
And we made a sizeable dent in the slag heap that we used to call a front yard....
Tune in next time to see us spend Christmas day swapping out our water heater!

Wednesday, January 5, 2022

Basement Expansion Part 16

The last post ended with a little bit of false advertising, something I learned from Amy Sheep. Instead of addressing the Great Dumpster Conundrum this post is a round up of what we've been doing in between digging and pouring sections of the floor. 

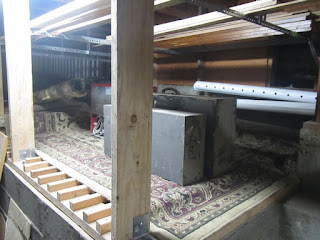
I few weeks ago (in blog time!) I built a storage platform which by now has been fitted with an old piece of carpet and partially filled up.

I have also constructed my rack for storing large pieces of lumber above the platform.

And the shelves at the front of the basement have been mostly refilled:

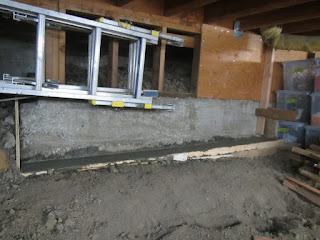
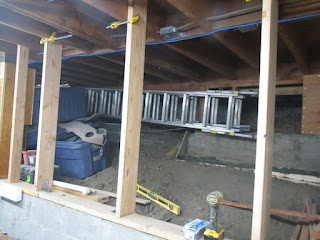
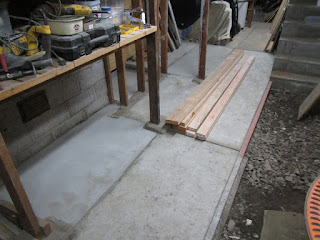
Which brings us to the area just beyond the storage platform/timber rack. Clearly this area needs some attention:


I want build another storage platform in this area, but, because of the slope, it will have to be several inches higher than the original platform. I used the laser level to figure out exactly how much higher - I don't want to remove any dirt below the existing foundation. 


After scraping away some more dirt (and dumping it in the over-full front yard), I was able to install a timber form and pour a level strip of concrete against the foundation which is about six inches wide.


While the concrete was curing I installed more timber bracing between the cinder block wall and the floor joists. I am hoping this will stabilize the wall over the next several years because I do not want to have to rebuild it


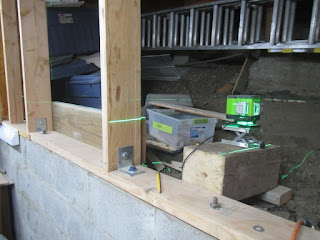
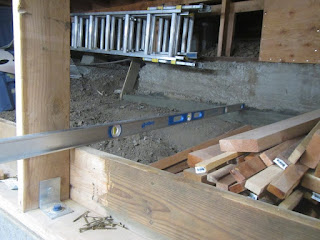
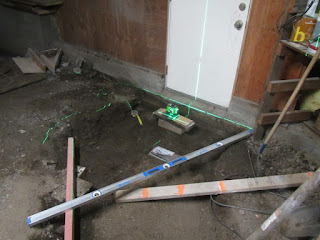
When that was done, I set up the laser level and tuned it to the top edge of the concrete strip. The line that is cast onto the braces enables me to easily install a timber rail which is level with the concrete.


Eventually timber slats, maybe a carpet, and definitely a pile of junk will be installed instead of the spirit level.


Stay tuned for the Great Dumpster Conundrum - yes, we really mean it this time!

Thursday, December 30, 2021

Basement Expansion Part 15

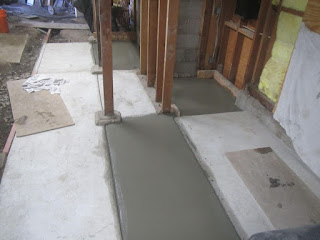
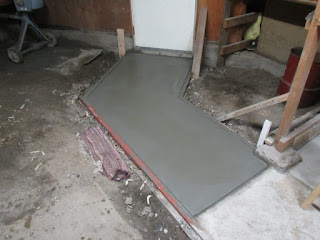
As I mentioned in my last post, the area below the front porch has been well and truly filled with dirt. Soon, we will be forced to get another dumpster, but for now I am continuing to dump waste dirt in the front yard. Fortunately I only had to dig out two of three barrow loads before we could pour the next bit of the floor; these three section were all poured together.


This is about a week later when the concrete is mostly cured. The section at the left will be obscured when the shelves are reconstructed, and the right section will be the pathway that leads between the garage and the workshop.


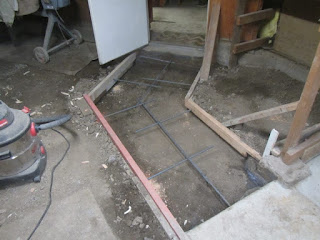
The section immediately inside the basement needs to turn a corner to meet the garage door. I started in the usual place: digging dirt. About a week before this we experienced the largest storm our little bit of California has seen in 25 years...Our sump pump did its job, but it still got very wet in the basement, so this area was quite damp and therefore much easier to dig.


I used the laser level to help me set up the forms. I'm getting a lot of use out of this tool, but my 78 inch spirit level has also become one of my favorite tools during this project.


All set up and rebar installed. The pathway turns at appox. 60 degrees so that it is square with the wall where the doorway is located.


All done!


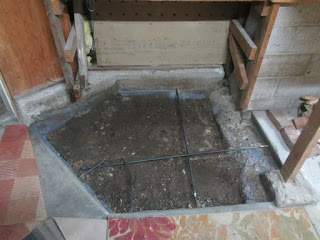
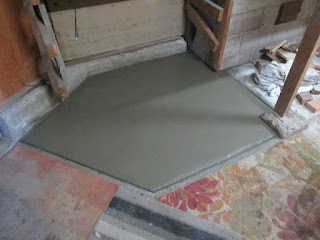
I had to wait two or three days before I could walk on the path, and then I was able to dig out and pour the adjacent section:


Once this area has cured, I can rebuild the shelves.


Will the dumpster arrive in the next episode? Will we able to fill it in two days? And will Pluto ever be a planet again? Stay turned and the answers to two of these questions will be revealed! 

Wednesday, December 22, 2021

Basement Expansion Part 14

Back to ye olde concrete perimeter. I've really enjoyed working on the concrete floor, but the bread and butter of this project is the bench foundation. And that means back to working overtime with the jackhammer. 


By now the space below the porch was staring to fill up. I laid a half sheet of plywood onto of the filled in section, so that I could get rid of more dirt at the far end. Crawling and emptying heavy buckets was a real work out.


Finally enough dirt was relocated and I installed a 2" x 8" at what will be the end of the form for this section.


This is a closer view after the rebar and the main form were installed:


This photo shows how the perpendicular form will be installed, although it hasn't been attached at this point.


The small gaps between sections of the forms are sealed with expandable foam. Amy Sheep has become a master of the application process.


This next photo was taken a few days later after the forms have been removed and the concrete is partially cured.


On to the next bit....I'm using the "rake down" method of breaking out rock, and then shoveling it from a piece of plywood in buckets. 


This is the view a number of hours (and buckets) later:


And another one bites the dust...


At this point, we have just one more section of the perimeter to dig out and replace with concrete.


Tune in next time for more of the same...

Saturday, December 18, 2021

Basement Expansion Part 12 point five

I mentioned a few posts ago that we had settled into a routine of digging and then pouring sections of the perimeter. I don't think I explained what we have been doing with the dirt. The answer is that since we filled up the first ten cubic yard dumpster, most of the dirt we've removed has been dumped in the front yard. This has a couple of disadvantages: ultimately this dirt will have to be moved again when we do get a dumpster, and our front yard is now overflowing with small pieces of rock. You might think this meant we needed another dumpster, but I had what I though was a better idea.

An idea that consisted of piling dirt into buckets and...


...tossing it into the huge void below the entry porch:


Several sections of the perimeter were thus constructed:


In spite of our plan to attack the perimeter from both sides, we never did pour two sections on the same weekend - pouring one section was quite an effort. Instead, I devoted any leftover energy to working on the floor. This process consists of carving out sections of the dirt, constructing perimeter forms, and installing rebar....


Before adding concrete and working it over a number of times to get a flat finish (I wont say mirrored finish!). 

There are several reasons why we are pouring the floor in sections instead of a monolithic slab like Odell would do. Obviously we don't have a concrete truck, a pump and a four man person crew, but also this allows us to pour slabs without control joints: the junctions between the sections fulfill this requirement. I'm using a half-inch round-over trowel at the perimeter of each section, so this leaves a deep grove at the junctions.


Quite a bit of thought went into the placement of the "grooves" because I want the finished look to be visually appealing. The plan is for the 32 inch wide section shown above to extend up to the garage doorway and form a pathway, and for the perpendicular joints to align with the pre-existing shelves. This leads to a 3x3 array where the bottom left section is occupied by the chimney, and the path above extends across the top right and middle right segments: 


Once the forms were built and leveled, I installed rebar and applied bonding agent to any bits of older adjacent concrete. The rebar extends through the timber forms so that it can the connected to the next section of the slab in due course.


The way the forms were constructed means that the timber occupies space in an adjacent section - in other words, I couldn't pour concrete in two adjacent areas at the same time.


After spending quite a while on setup, I was able, with help from Amy Sheep, to pour three sections of the floor in one go.


It's a bit more obvious which sections in the photo below, which was taken after the concrete has mostly cured:


To be continued....